About Neptune Rising
Neptune Rising has quickly become one of the best Kodi add-ons for 2019, due to its clean layout, expansive content collection, and stability. It evolved from the Covenant addon, so it should be familiar to users of that program. You can find it in the always-reliable Legion TV repository, the most recent update cleaned up the interface and improved its speed. We highly recommend this add-on for all your streaming needs.
Neptune Rising Features
- Massive streaming library
- Well curated lists
- Easy to download and use
What does Neptune Rising do?
Neptune Rising is a Kodi addon available for Amazon Firestick and Fire TV. It’s totally free and provides tons of streaming TV and movies. It also has a ton of options for streaming in HD as well.
Theres not really any options for sports or live TV, so it’s not a complete replacement for cable, but it is great source for classic and new releases of shows and films.
It includes the following content categories:
-Movies
-TV Shows
-Top Movies
-IMDB Users Lists
-Critters Corner
-What The Fork
The IMDB, Critters Corner, and What The Fork sections contain some really excellent curated lists of movies and shows.
We think this is probably the best clone of Covenant/Exodus since those addons were taken down.
Preparing to install Neptune Rising Kodi addon
Installing Neptune Rising on Firestick or FireTV is a three-part process. In this guide, we will walk you through the following steps:
- Installing the Downloader app and allowing third party apps.
- Downloading and installing Kodi
- Downloading and installing the Neptune Rising Kodi addon
If you already installed Kodi you can skip ahead to Part 3.
Part 1: How To Install Downloader and Allow third-party apps.
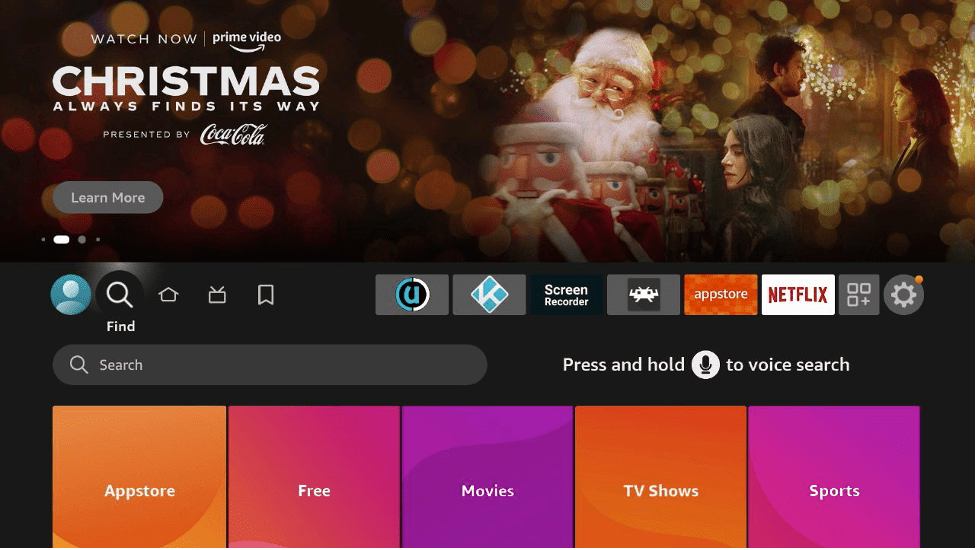
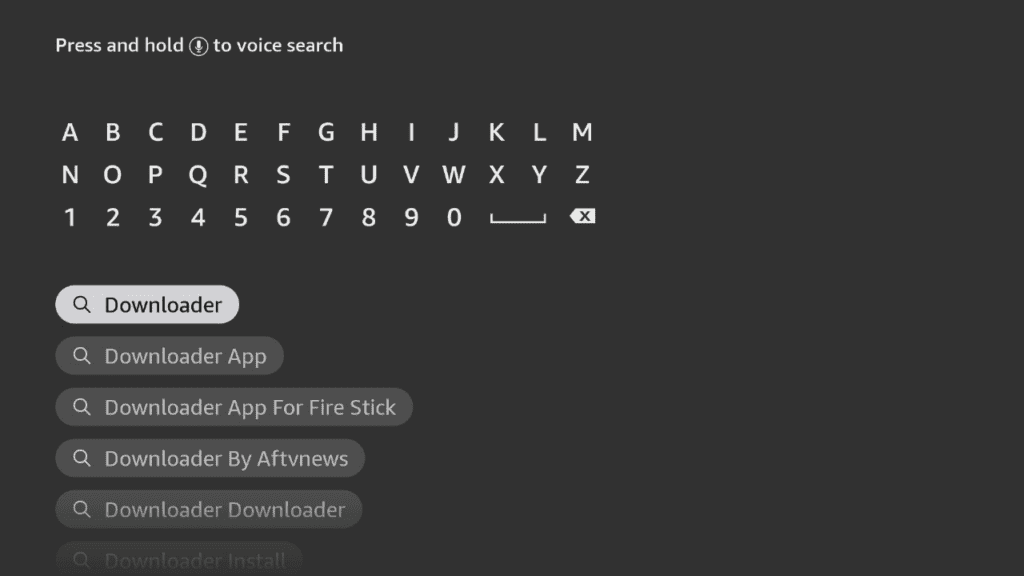
Go to FireStick home screen Find > Search and press enter

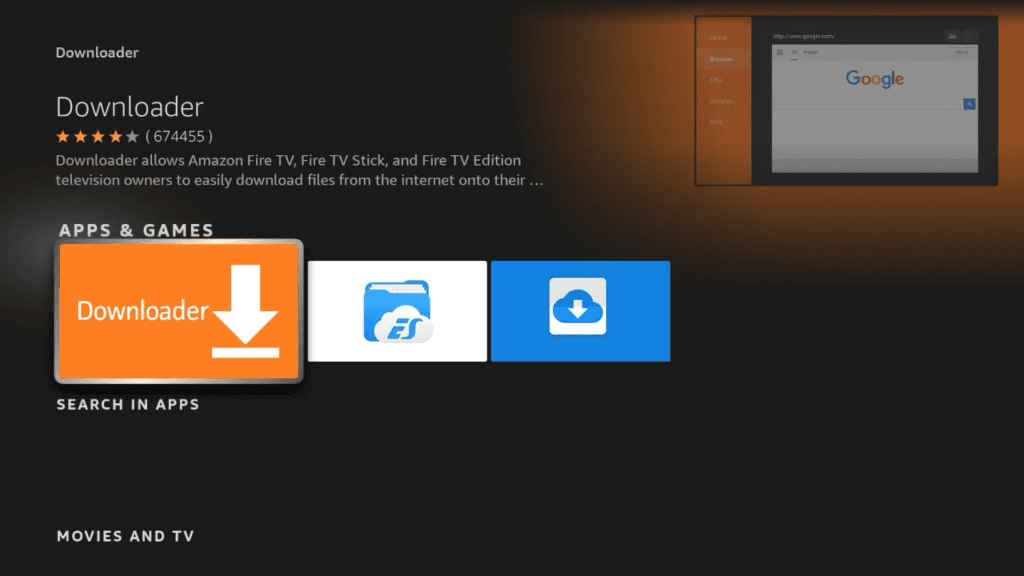
In the search window, type "Downloader". It should be the first result. Press down on your remote to select it.
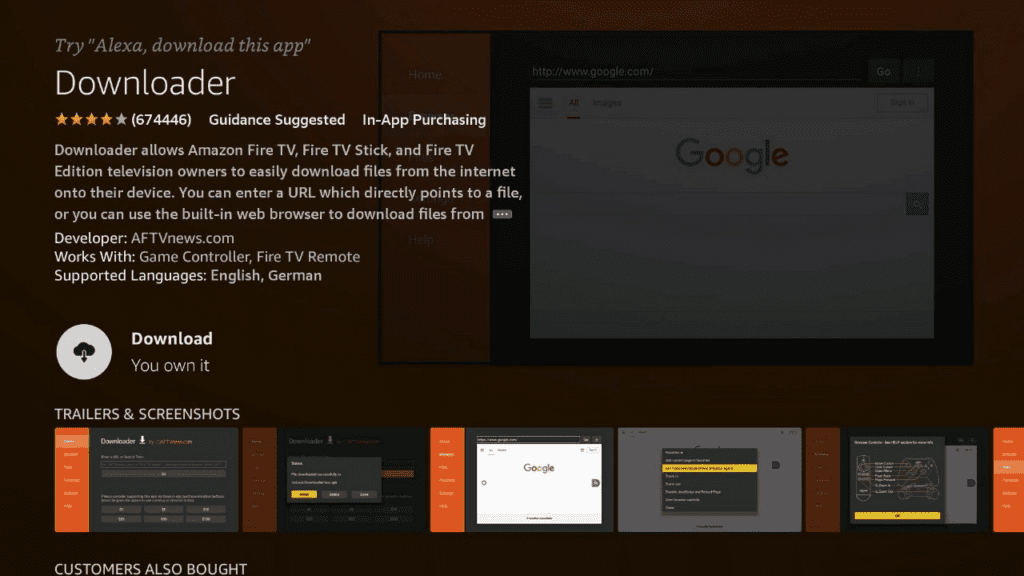
Install Downloader
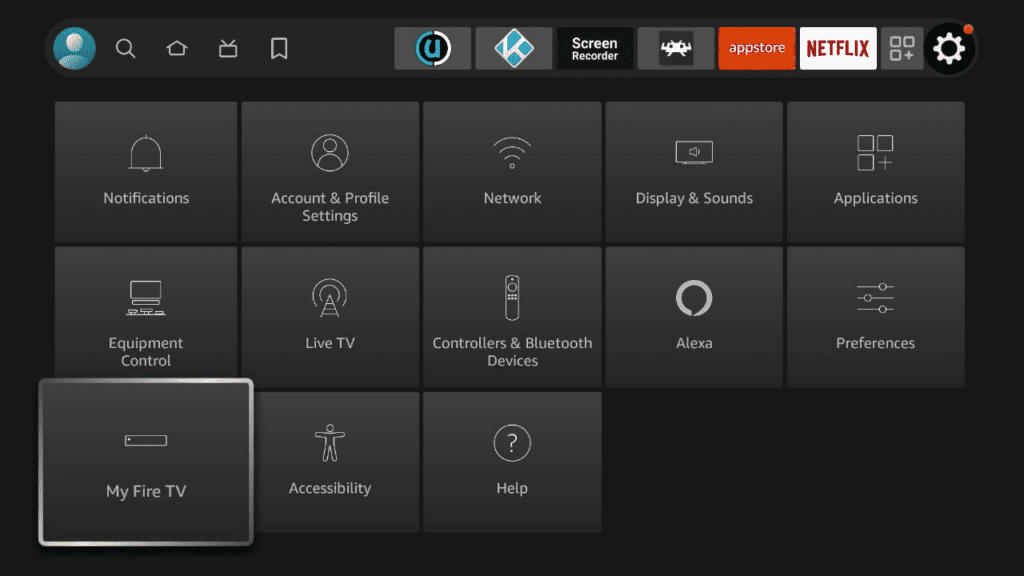
Go back to the home screen. In the menu bar at the top, navigate all the way until you get to the Settings screen.<br><br>Scroll down to My Fire TV and Select it.
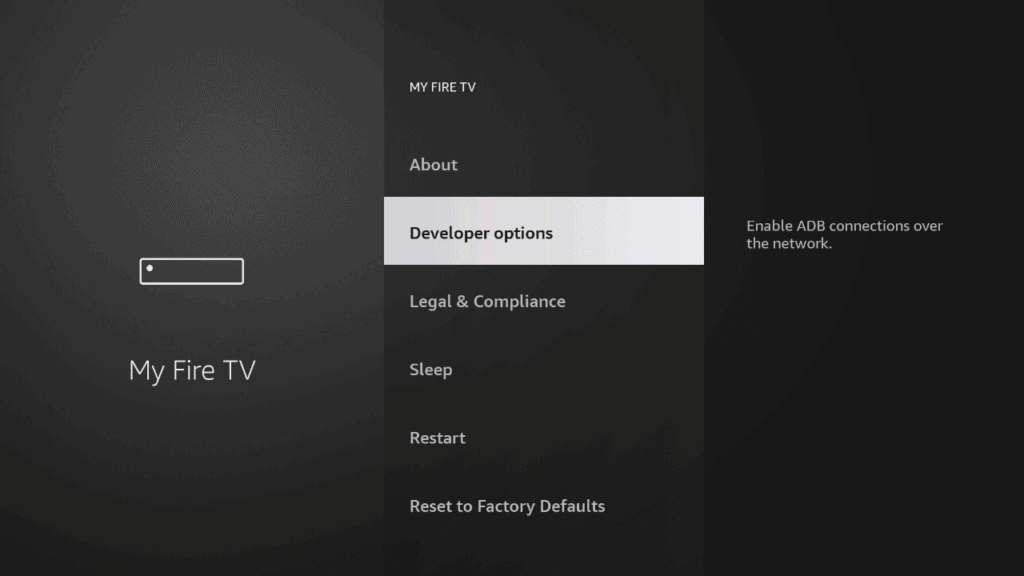
On the following window click Developer Options.
Select ADB Debugging and turn it on, then select Apps from unknown Sources and turn it on.
On some newer devices, you might be presented with this screen:
If so, select Downloader and turn it on.
Your FireStick is now ready to install and use third-party apps!


Part 2: How to Install Kodi
Follow these easy steps to download Kodi on Firestick and Fire TV
Open "Downloader"
You can do this using voice search by holding down the voice button and saying “downloader”.If you don’t want to use voice search, navigate to “Find” located in the left-middle of the screen and select it. Type in “Downloader”. It should be the first result. Select it to open Downloader.
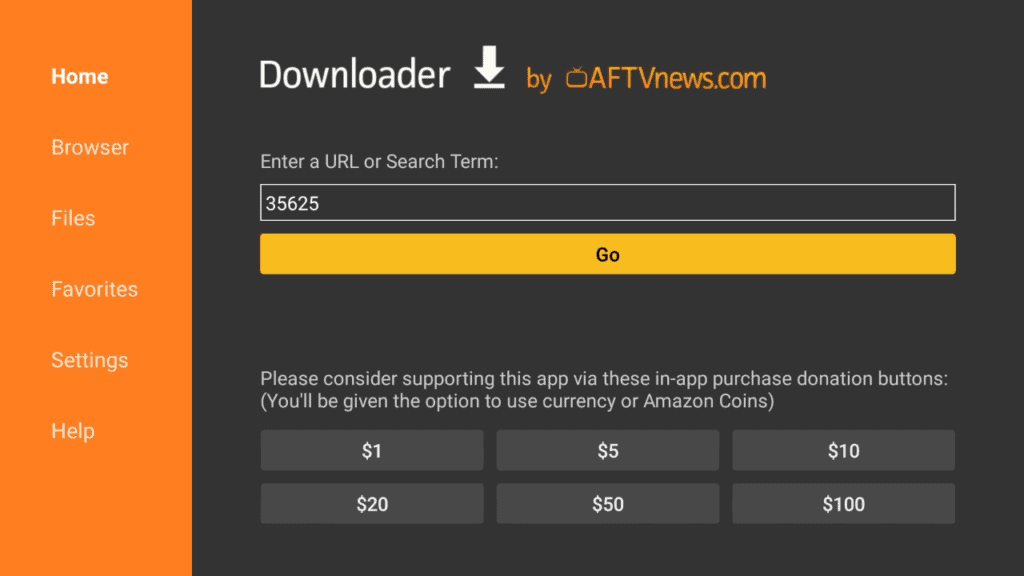
Download the latest stable version of Kodi
Where it says Enter a URL or Search Term type “35625” and select “Go” You will be redirected to the latest version of Kodi automatically.
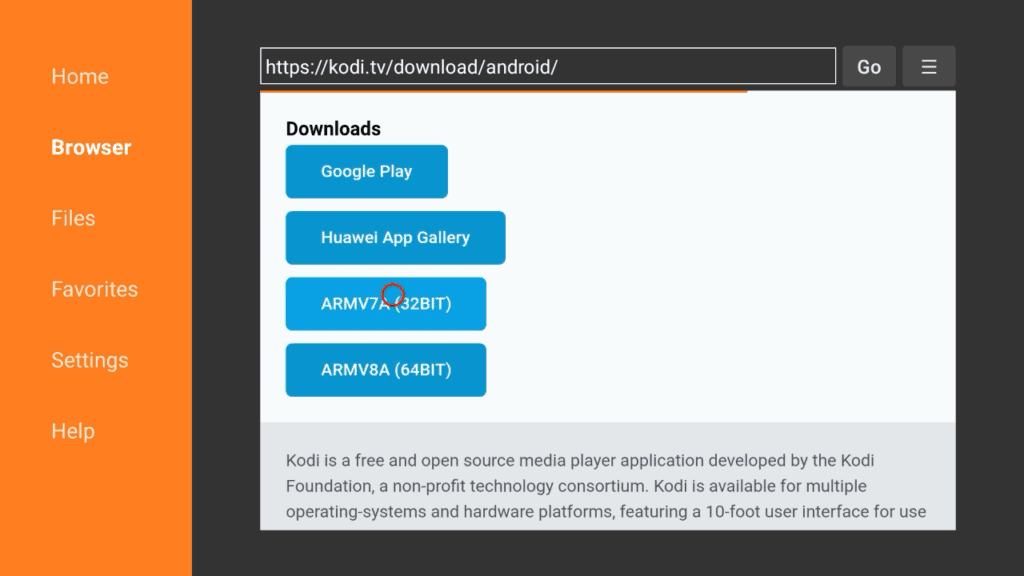
Use the control pad to find and select the right version of Kodi
Once the page has loaded, use the down button on your remote control to place the red circle on top of “ARMV7A (32BIT)” and select it.
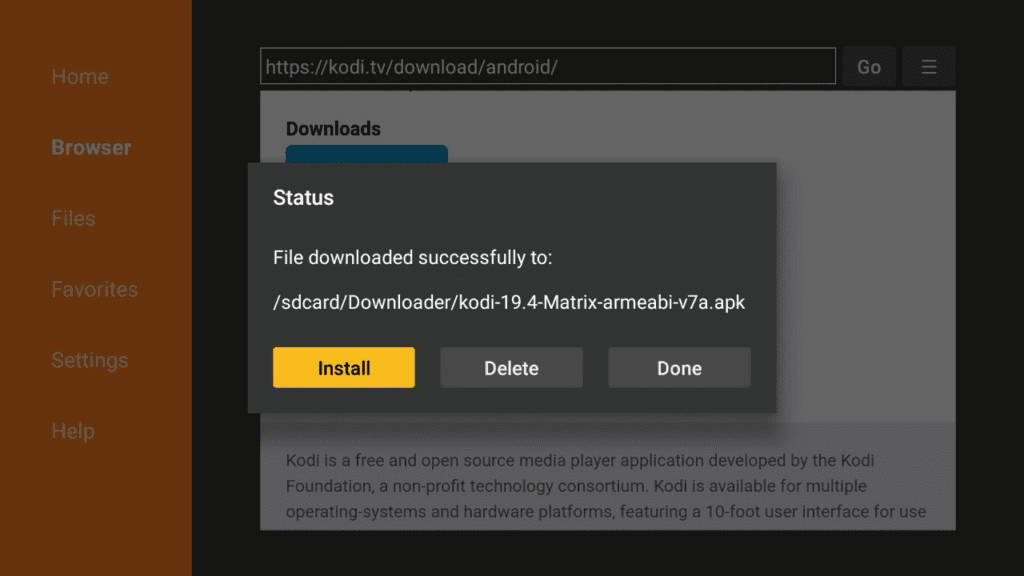
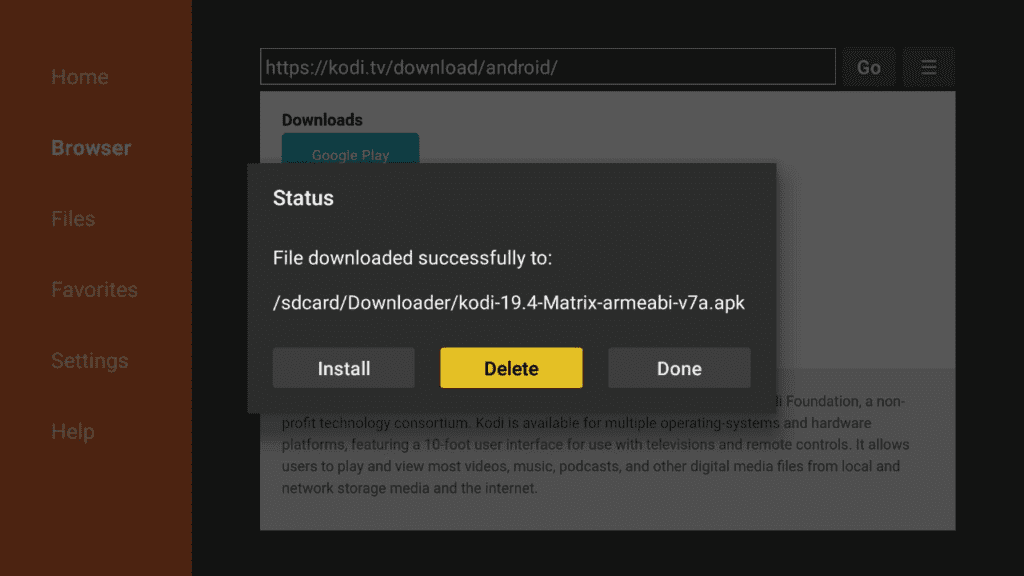
Install the downloaded file
Once the file has completed downloading, select Install. Once finished, Kodi will open immediately.
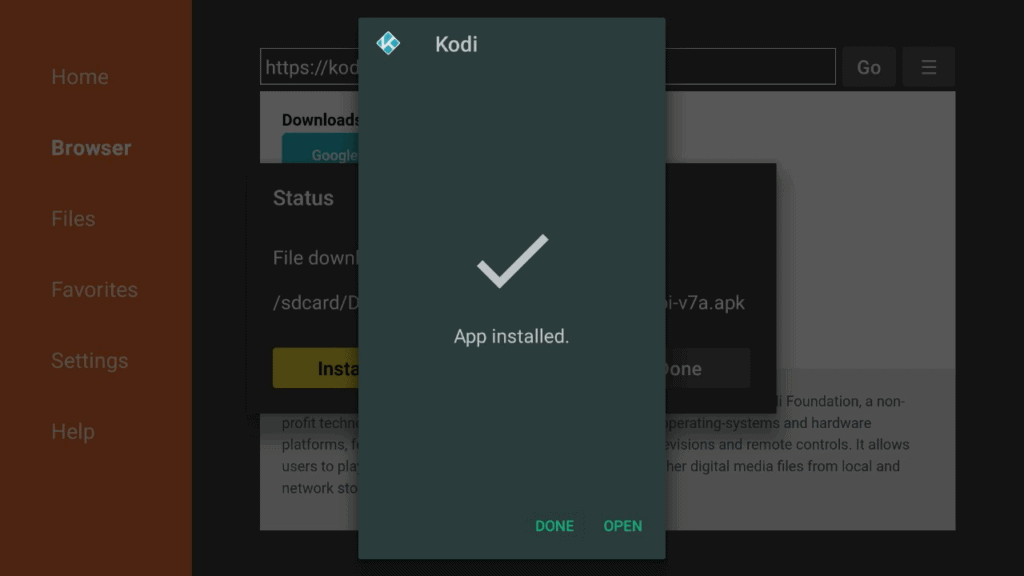
App has been installed. Select "Done"
Select "Delete" to delete the installer file.
Now we will make a shortcut to Kodi.
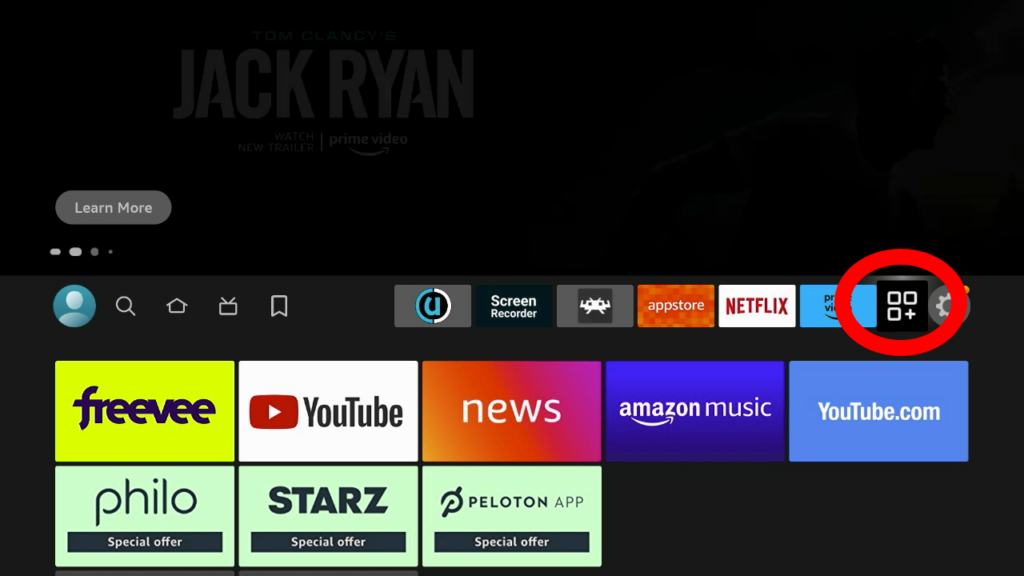
Go back to the home screen and, scroll over to Apps and select it.
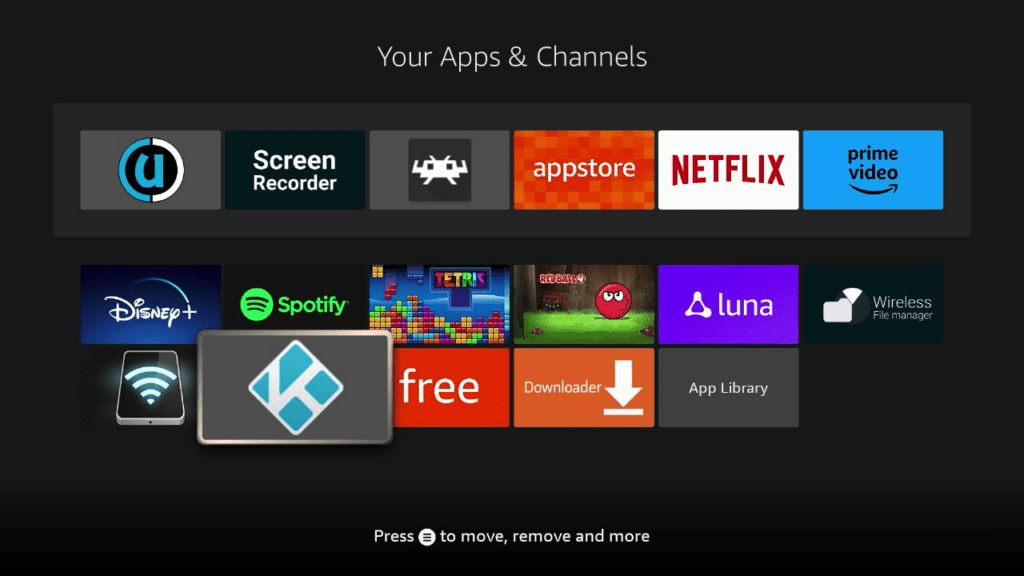
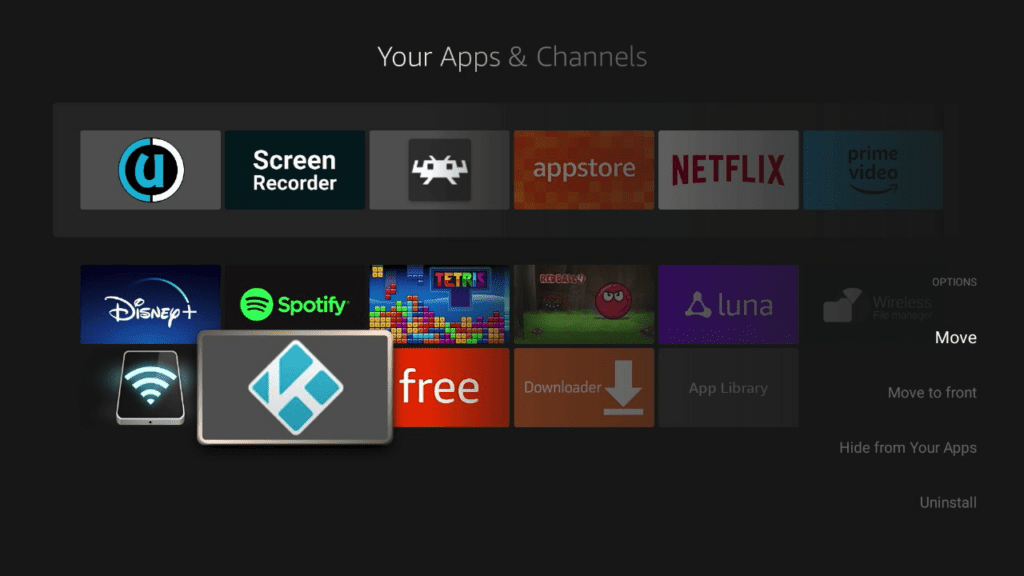
Scroll down to find the Kodi Icon
Press the options button.
You will be presented with a menu on the right hand side of the screen. Select “MOVE”
Use the UP button to place Kodi in your quick access list, then hit enter to save these changes.
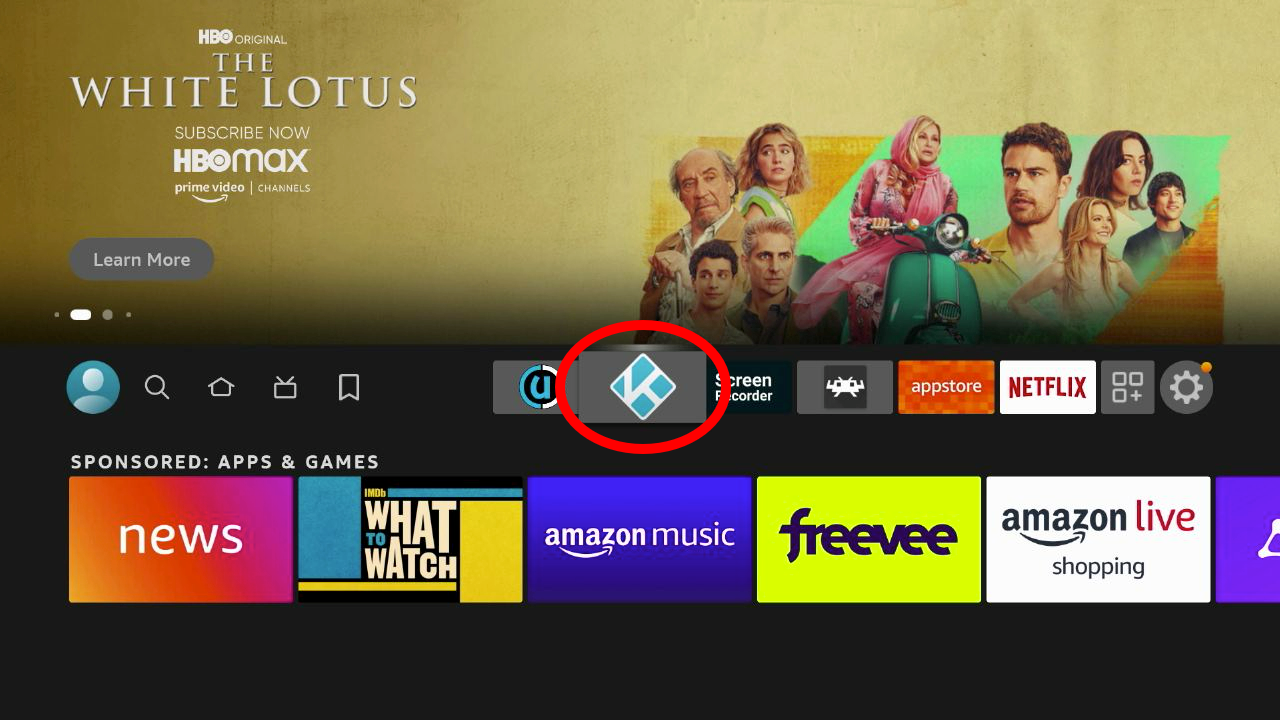
Select the home button.
Kodi now appears at the top of the screen.
You can now Open Kodi
Hit Continue to allow Kodi to access media on your device.<br>
This gives Kodi allows Kodi to find media files to play on your device.*Note: Kodi cannot see or transmit any of your personal information or any of your Amazon FireTV data.
Congratulations, you've installed Kodi


Part 3: Install Neptune Rising Kodi addon on Firestick and Fire TV
-
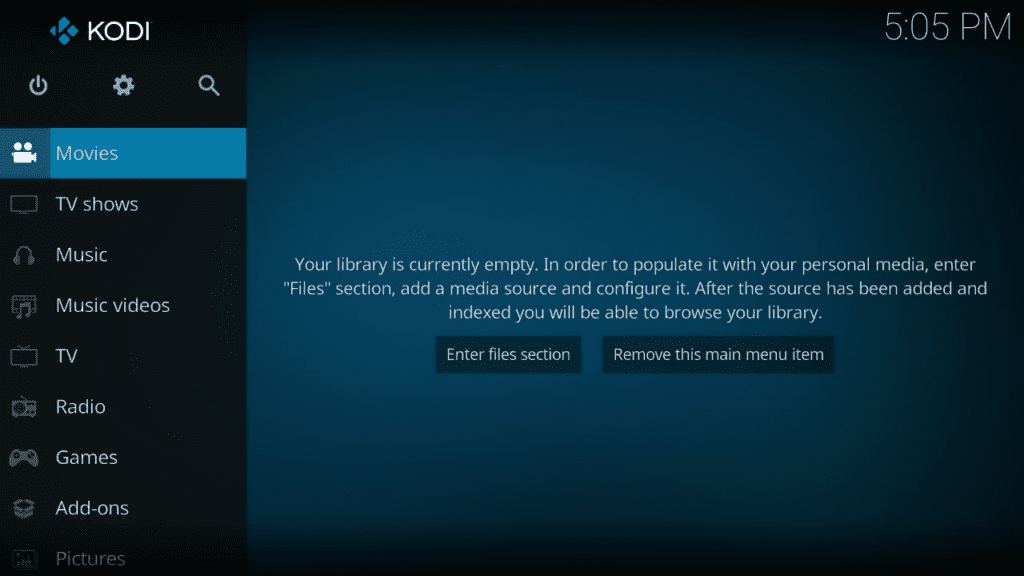
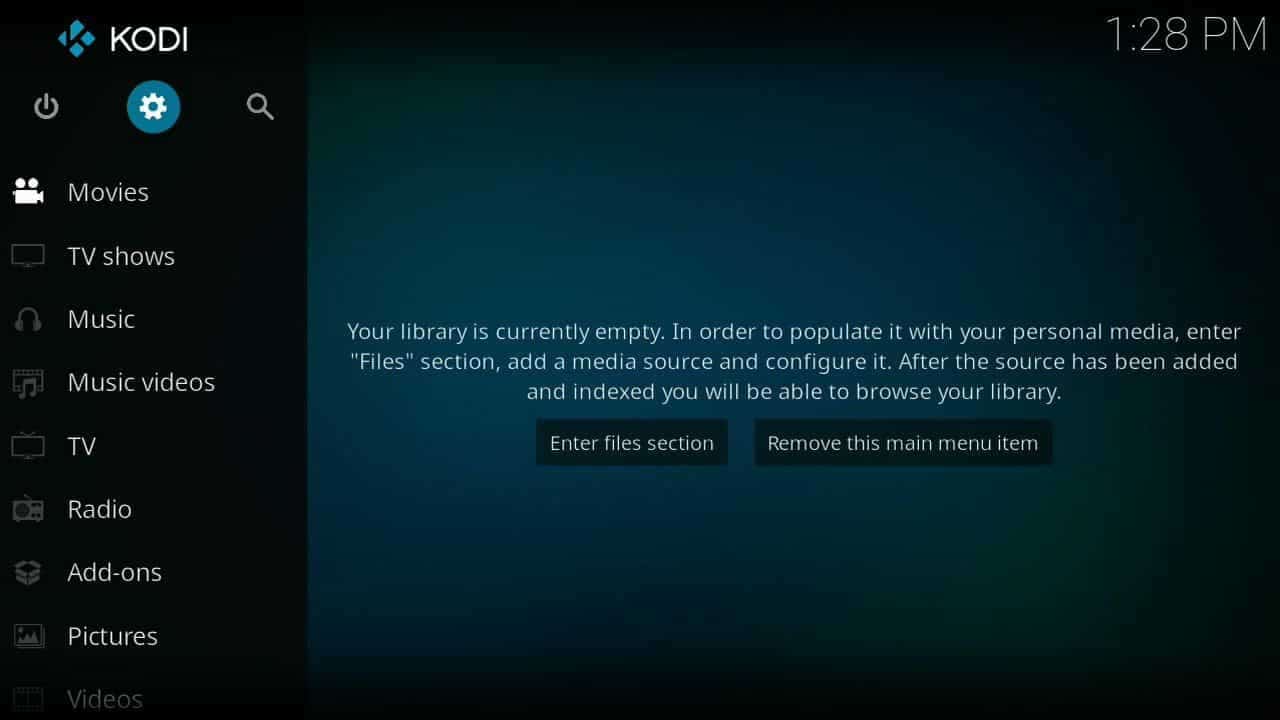
Open Kodi and go to “Settings” (gear icon)
-
Select “File Manager”
-
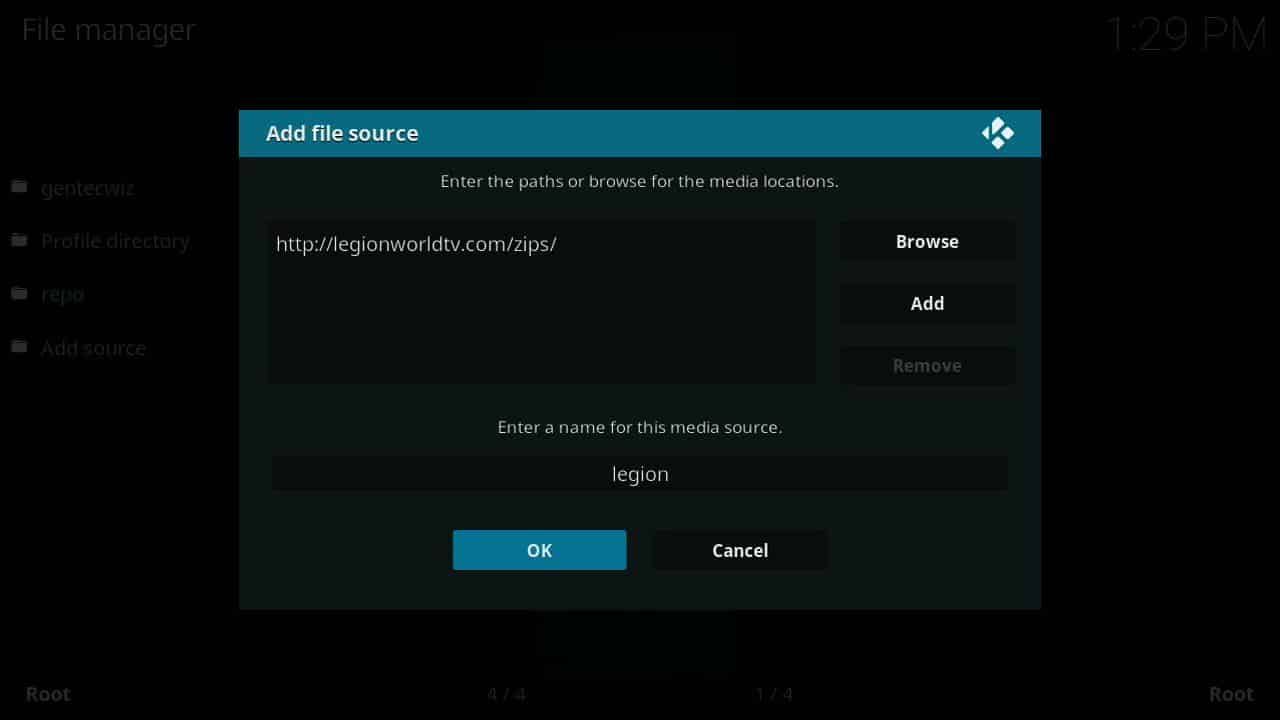
Select “Add Source”
-
A new box should pop-up. Enter the URL for Neptune Rising: https://legionworldtv.com/zips/ in the box where it says . Enter a name for the link (like “Legion”), and click OK.
-
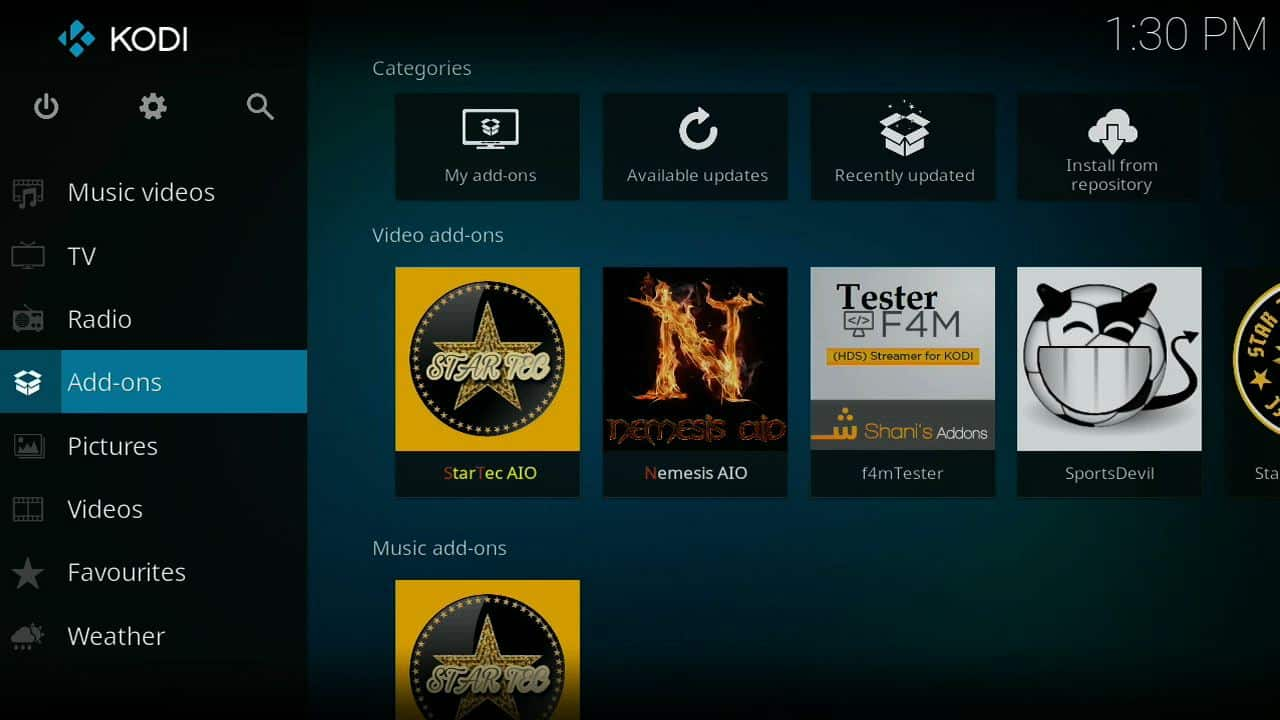
Go back to Kodi’s Main Menu and click “Add-ons”
-
Select “Open Box”
-
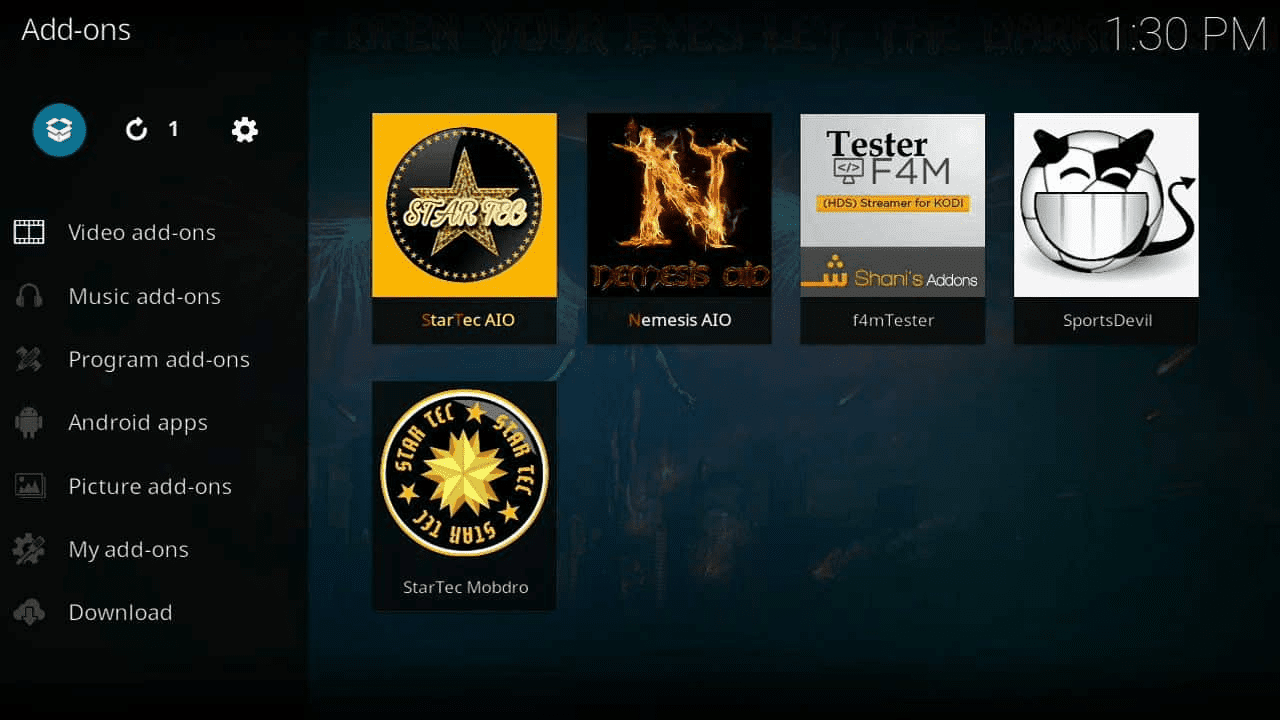
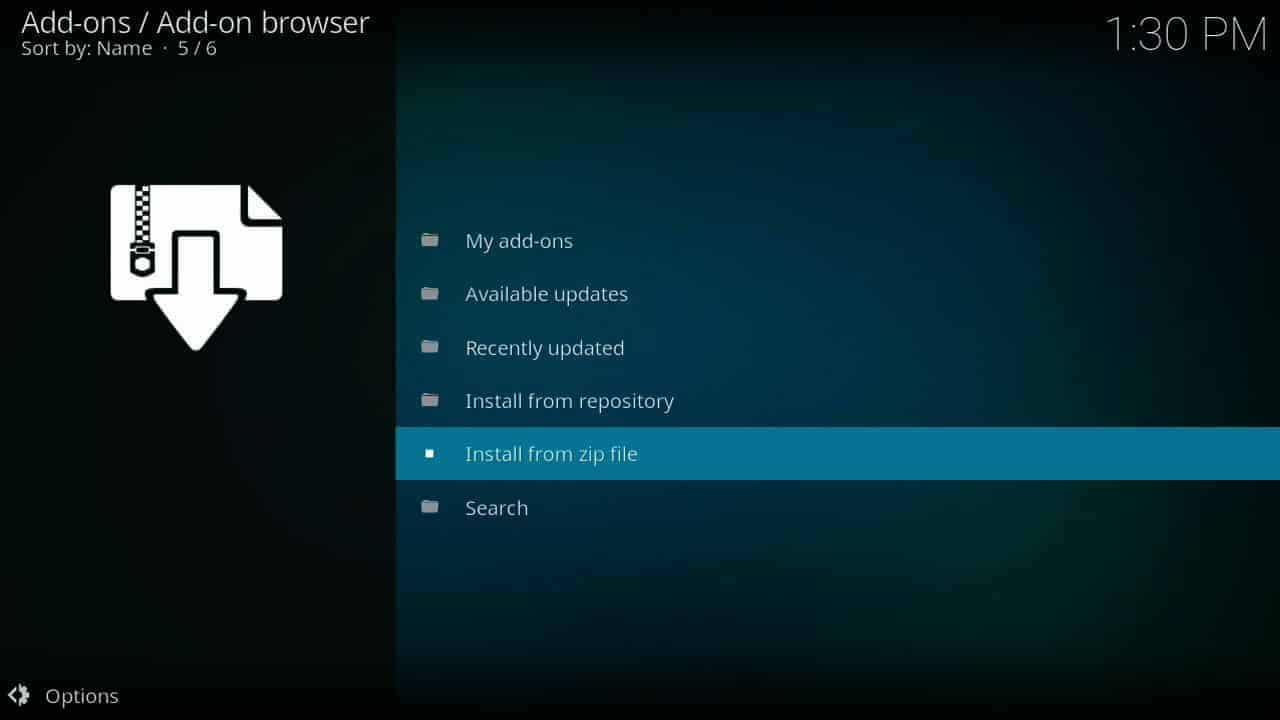
Select “Install From ZIP File”
-
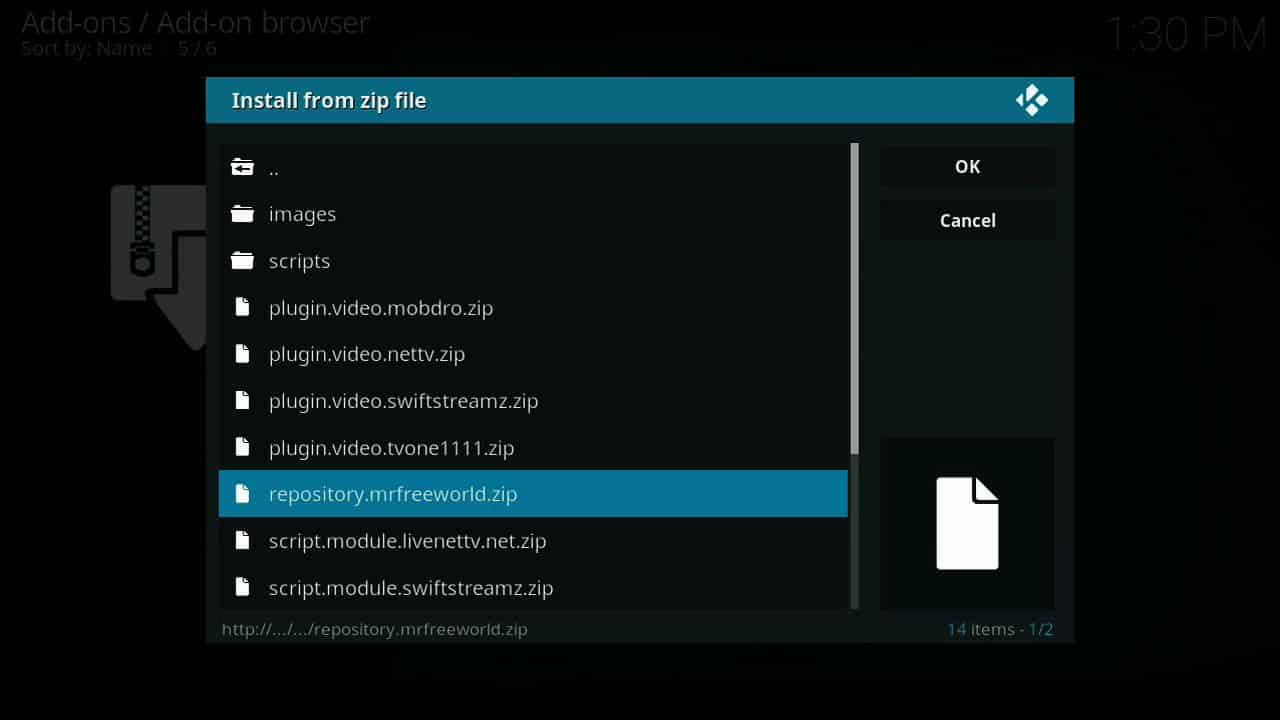
Open the directory of the newly added source (“Legion”), and find “repository.mrfreeworld.x.x.x-zip”. Click on this to install the repository to Kodi.
-
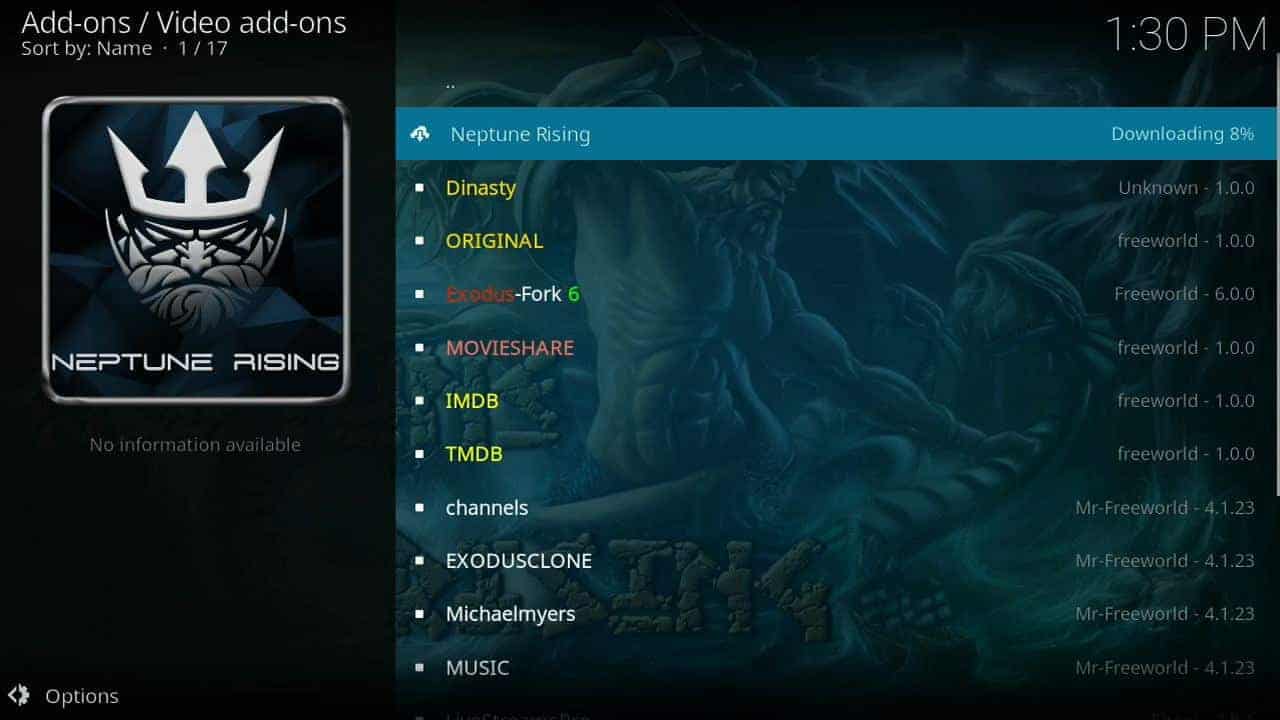
After it loads, there will be a notification that lets you click on “Install From Repository.” Click on “Mr Free World Repo”, then “Video Add-ons”, then “Neptune Rising”
-
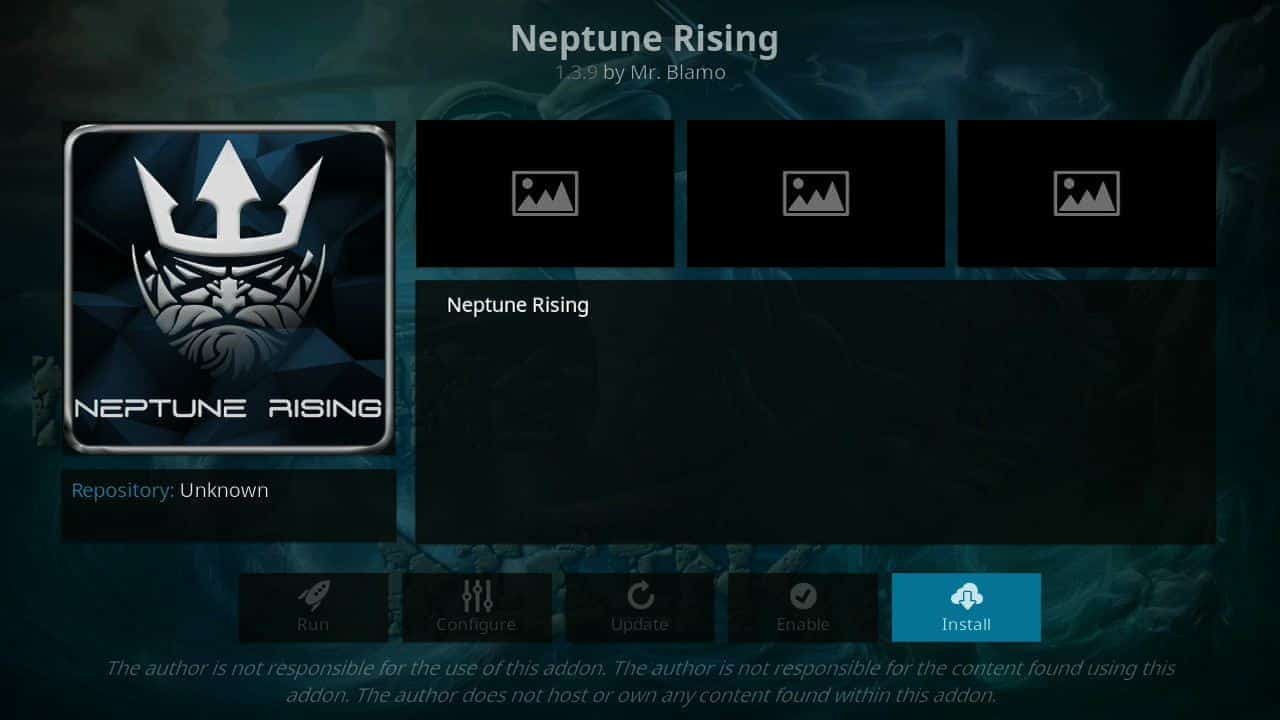
Click “Install” Neptune Rising should now be available to launch from Kodi’s Add-on section. Sit back and enjoy!


Neptune Rising is definitely well worth checking out if you are looking for a quality TV and movies app.